Sunday, July 30, 2006


Advanced Configuration - Multiple Tomcat 5.5 Instances on Linux


Create account tomuser as in [1] with .bash_profile following bellow.

Export new environment variable CATALINA_BASE pointing for example to ~tomuser.


# su - tomuser
$pwd
/home/tomuser
$cat .bash_profile
# .bash_profile

# Get the aliases and functions
if [ -f ~/.bashrc ]; then
. ~/.bashrc
fi

# User specific environment and startup programs
export CATALINA_BASE=~tomuser
export CATALINA_HOME=/home/tomcat/apache-tomcat-5.5.16
export JAVA_HOME=/home/tomcat/jdk1.5.0_06
export ANT_HOME=/home/tomcat/apache-ant-1.6.5
PATH=$JAVA_HOME/bin:$ANT_HOME/bin:$PATH
export PATH
export CLASSPATH=.:..:../..:$CATALINA_HOME/common/lib/servlet-api.jar:$CATALINA_HOME/common/lib/jsp-api.jar:
$CATALINA_HOME/common/lib/naming-factory-dbcp.jar
export DISPLAY=:0.0
unset USERNAME


Then:-


$cp -R $CATALINA_HOME/conf .
$cp -R $CATALINA_HOME/webapps .
$cp -R $CATALINA_HOME/shared .
$cp -R $CATALINA_HOME/work .
$cp -R $CATALINA_HOME/temp .
$cp -R $CATALINA_HOME/logs .
$cd /home/tomuser/conf/Catalina/localhost


Modify 3 files admin.xml,host-manager.xml,manager.xml.

Context should contain new value for docBase.

In particular manager.xml should look like:-


<Context docBase="/home/tomuser/server/webapps/manager"
privileged="true" antiResourceLocking="false" antiJARLocking="false">

<!-- Link to the user database we will get roles from -->
<ResourceLink name="users" global="UserDatabase"
type="org.apache.catalina.UserDatabase"/>
</Context>


Next:-


$cp -R $CATALINA_HOME/server .
$cd conf


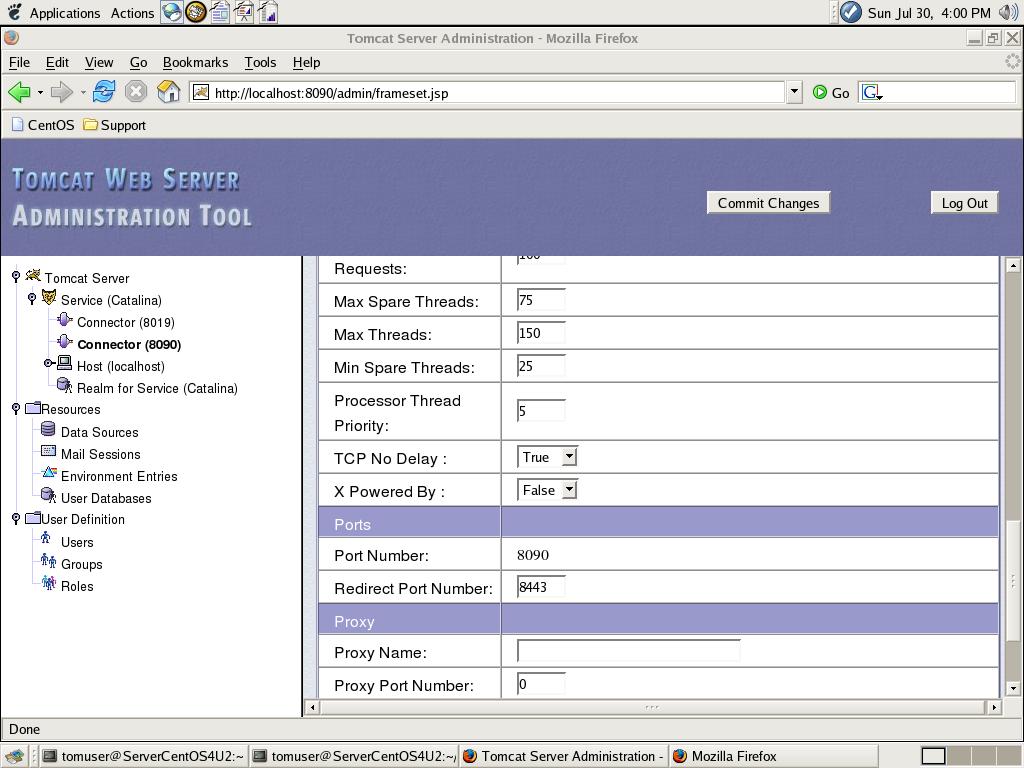
Modify server.xml. Three ports values should be changed:-


<Server port="8015" shutdown="SHUTDOWN">

.......

<!-- Define a non-SSL HTTP/1.1 Connector on port 8080 -->
<Connector port="8090" maxHttpHeaderSize="8192"
maxThreads="150" minSpareThreads="25" maxSpareThreads="75"
enableLookups="false" redirectPort="8443" acceptCount="100"
connectionTimeout="20000" disableUploadTimeout="true" />

.......

<!-- Define an AJP 1.3 Connector on port 8009 -->
<Connector port="8019"
enableLookups="false" redirectPort="8443" protocol="AJP/1.3" />


To start new TomCat instance:-


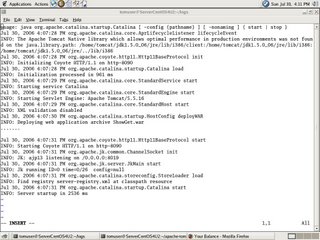
$ $CATALINA_HOME/bin/startup.sh -Dcatalina.base=$CATALINA_BASE


Screenshot of $CATALINA_BASE/logs/catalina.out:-


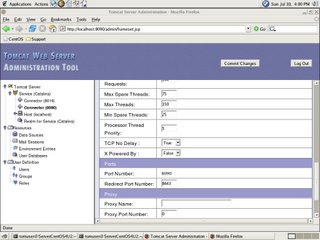
Screenshot of "admin" report:-


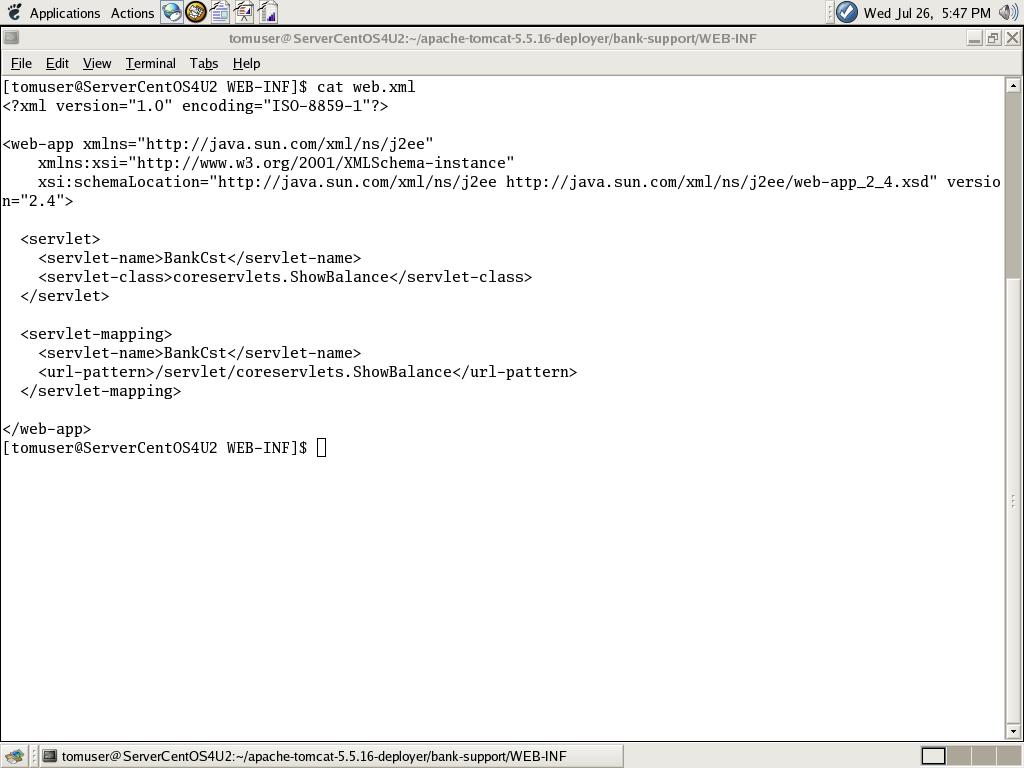
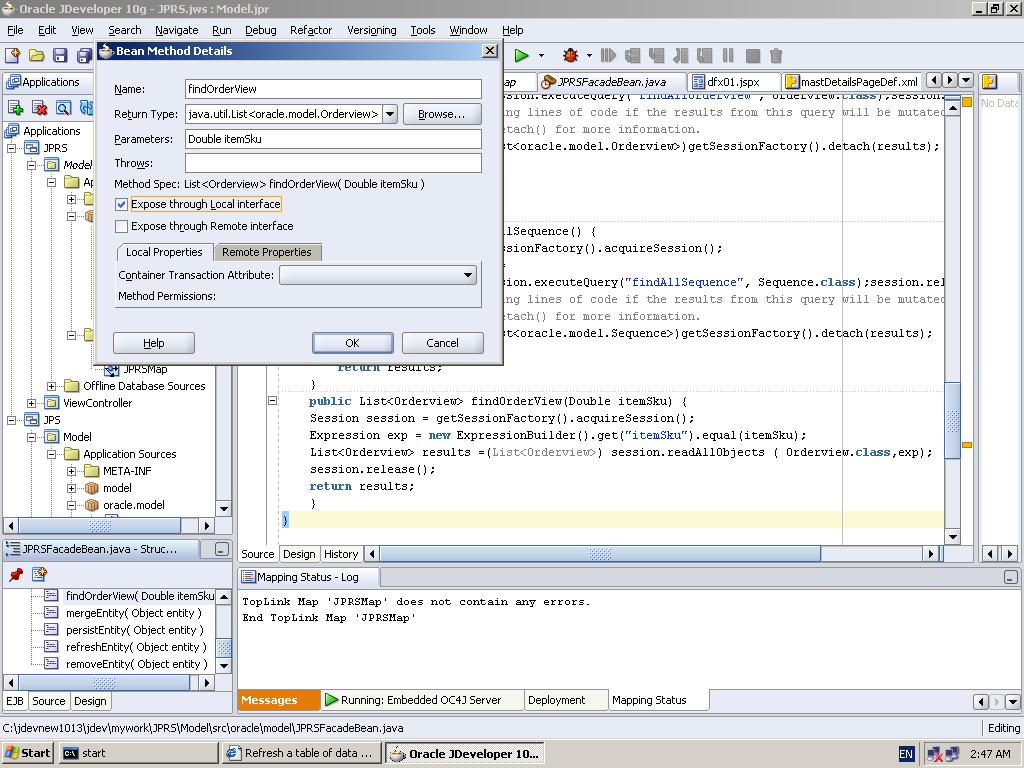
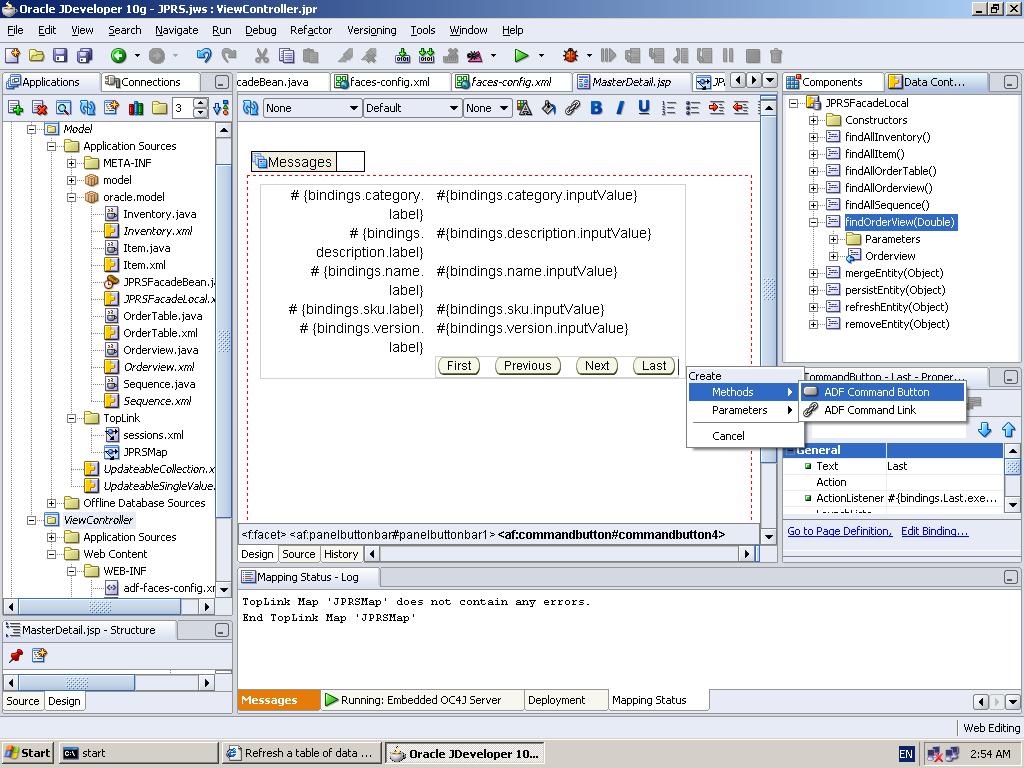
To perform deployment with "ant" to new instance of TomCat :-


$ cd apache-tomcat-5.5.16-deployer


Make one change to build.xml,replacing old port value for TomCat by new one.


<!-- Configure properties to access the Manager application -->
<property name="url" value="http://localhost:8090/manager"/>
<property name="username" value="tomcat"/>
<property name="password" value="tomcat"/>\>


References


1.http://bderzhavets.blogspot.com/2006/07/installation-tomcat5.html


Tuesday, July 25, 2006


Installation TomCat(5.5.17) Client Deployer on Linux(CentOS 4.2)


First :-


# chmod g+r ~tomcat
# chmod g+x ~tomcat


In case when TCD is supposed to be installed on the same host
with server have "ant" installed by tomcat,where tomcat is account used for server install,otherwhise (after creation account tomuser):


1.Perform installation of JDK 1.5 and "ant" by tomuser.
2.Just for example, make assignments:-
ANT_HOME=~tomuser/apache-ant-1.6.5
JAVA_HOME=~tomuser/jdk1.5.0_06
Then modify PATH as follows:
export PATH=$ANT_HOME/bin:$JAVA_HOME/bin:$PATH


Create account tomuser :


# adduser tomuser -g users


with .bash_profile for local deployment


# .bash_profile

# Get the aliases and functions
if [ -f ~/.bashrc ]; then
. ~/.bashrc
fi

# User specific environment and startup programs

export JAVA_HOME=~tomcat/jdk1.5.0_06
export ANT_HOME=~tomcat/apache-ant-1.6.5
PATH=$JAVA_HOME/bin:$ANT_HOME/bin:$PATH
export PATH
export DISPLAY=:0.0
unset USERNAME


or with .bash_profile for remote deployment


# .bash_profile

# Get the aliases and functions
if [ -f ~/.bashrc ]; then
. ~/.bashrc
fi

# User specific environment and startup programs

export JAVA_HOME=~tomuser/jdk1.5.0_06
export ANT_HOME=~tomuser/apache-ant-1.6.5
PATH=$JAVA_HOME/bin:$ANT_HOME/bin:$PATH
export PATH
export DISPLAY=:0.0
unset USERNAME


Login as tomuser and untar deployer package.

Then change directory to ~tomuser/apache-tomcat-5.5.17-deployer.

Create file deployer.properties under /home/tomuser/apache-tomcat-5.5.17-deployer

with content:-


name="compile.debug" value="true"
name="compile.deprecation" value="false"
name="compile.optimize" value="true"


Modify two rows in build.xml:-


<property name="webapp" value="bunk-support"/>
<property name="path" value="/bank-support"/>


In case when TomCat Server is running on the remote host with
IP address: IP-Address and name: Host_Name ,entry
"http://localhost:8080/manager" in build.xml
should be replaced by "http://IP-Address:8080/manager" or by "http://Host_Name:8080/manager" .

Create bank-support directory and download source for chapter 15
of Marty Hall's "Core Servlets and JavaServer Pages" book (second edition,v 1). Create file ./WEB-INF/web.xml:-


Then compile with "javac" Bean Class BankCustomer.java under WEB-INF/classes before calling "ant".
Servlet ShowBalance.java would be better
to compile during "ant" build phase.

Jasper Compiler will be also invoked to compile all JSPs.


Snapshot of source directory:-


Snapshot of target directory:-


Thursday, July 06, 2006


Refreshing Master-Detail JSF page after inserting
or deleting row from Detail table (JDeveloper 10.1.3)


Pick up as a sample jpauser schema from [1].
Add one more view to jpauser schema :-


create view OrderView as select * from order_table;


Add method findOrderView(Double) to JPRSFacade Session EJB based
on same TopLink POJOS as in [1] plus Orderview.java


Create Master-Detail page step by step:-


Add code generated by "findOrderView" to code generated by"removeEntity" button.

Save new code for"removeEntity" button into JSF managed bean
for current page.


Now we are done with refresh after delete.


Create page for data entry and bind "persistEntity" at this page.


Then implement refreshing of main page after inserting new record into detail table:

1.Open the browse page and right click in the visual editor. Choose Go To Page Definition.

2.In the Structure window, expand the highest level node. Right click the executables node and choose

Insert inside executables -> invokeAction

3.In the Common Properties tab, specify "tableRefresh" as the Id for the action and choose your detail-table query method name : findOrderView in the Binds dropdown list.

4.Click the Advanced Properties tab

Choose ifNeeded as the Refresh property and to ensure the action is called each time the page is rendered.

Enter ${!adfFacesContext.postback} as the RefreshCondition and click OK.


Project has been deployed to standalone OC4J instance

and behaved as expected

References


1.http://bderzhavets.blogspot.com/2006/05/toplink-jpa-inside-ejb-3.html